


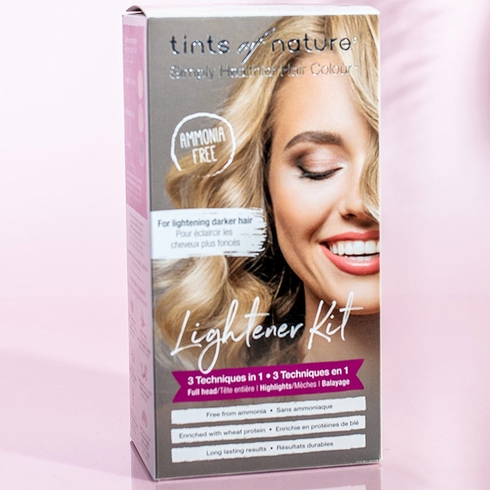

Ammonia Free 3 in 1 Hair Lightener Kit, 4.4 oz, Tints of Nature
Tints of Nature 3 in 1 Hair Lightener Kit
- 100% ammonia-free.
- Bursting with natural and organic ingredients.
- Achieve up to seven levels of lift.
- Full-head, highlights and balayage instructions included.
- Vegan & cruelty free.
This Hair Lightener Kit Includes:
- Cream Activator - 25 ml / 0.88 oz
- Protective Oil - 50 ml / 1.7 oz
- Ammonia Free Lightening Powder - 25 g / 0.88 oz
Cream Activator Ingredients:
Aqua, Hydrogen Peroxide, Cetyl Alcohol, Methyl Glucose Sesquistearate, Ceteth-2, Ceteareth-25, Oxyquinoline Sulfate, Phosphoric Acid, Foeniculum Vulgare (Fennel) Seed Extract.
Protective Oil Ingredients:
PEG -2 Soyamine, PEG-4 Rapeseedamide, Alcohol Denat, Oleic Acid, Propanediol.
Ammonia Free Lightening Powder Ingredients:
Potassiun persulfate, Sodium Silicate, Silica, Hydroxyethylcellulose, Sodium Lauryl Sulfate, Tetrasodium, EDTA, Hydrolyzed wheat protein, Parfum, Geraniol.
How to lighten hair with Tints of Nature Permanent 3 in 1 Hair Lightener Kit
Full head lightening:
Step 1. Mix - put on gloves. Mix Lightening Powder, Cream Activator and Protective Oil in the mixing tray with the brush to create a smooth paste.
Step 2. Apply - brush the lightening mixture onto clean, dry hair. Ensure hair is fully covered.
Step 3. Wait - cover with development cap and wait for the duration of your personal development time (up to a maximum of 45 minutes).
Step 4. Rinse - remove development cap, rinse hair thoroughly with warm water until all product is removed. Shampoo and Condition hair using sachets provided. Leave conditioner for five minutes and comb through. Rinse thoroughly and style as usual.
Root touch-up. Brush the lightening mixture to the roots only, avoiding touching previously lightened hair.
Highlights:
Step 1. Prep hair and mix - separate your hair into three pony tails (one at the base of your neck, one in the middle and one high on your head). Put on gloves, mix Lightening Powder, Cream Activator and Protective Oil in the mixing tray with the brush to create a smooth paste.
Step 2. Apply - cover shoulders with an old towel, let down the bottom pony tail only and brush thoroughly. Top tip - pull hair in front of shoulders and use a mirror for ease of application. You can use your fingers (with gloves on) rather than a brush if you prefer. Take a small section of the hair, apply the lightening mixture and make sure both sides of the strand are coated evenly from roots to tip. Make sure you work in excess product and then gently lay the strand down. Add desired highlights to bottom section of hair.
Repeat with middle and top sections. Top tip - apply thicker highlights at the front to frame your face and thinner highlights towards the back.
Top tip - Tints of Nature Lightening Kit is also suitable for use with any highlighting techniques you wish to use; foils, highlighting combs etc.
Step 3. Wait - cover with development cap, leaving hair loose to avoid product transfer. Wait for the duration of your personal development time (up to a maximum of 45 minutes).
Step 4. Rinse - remove development cap, rinse hair thoroughly with warm water until all product is removed. Shampoo and Condition hair using sachets provided. Leave conditioner for five minutes and comb through. Rinse thoroughly and style as usual.
Touching up highlighted roots. Section hair, pull out previously lightened strands. Apply lightening mixture to the roots only, avoiding previously lightened hair.
Balayage:
Step 1. Prep the hair and mix - separate your hair into three pony tails (one at the base of your neck, one in the middle and one high on your head). Put on gloves, mix Lightening Powder, Cream Activator and Protective Oil in the mixing tray with the brush to create a smooth paste.
Step 2. Apply - Cover shoulders with an old towel. Let down the bottom pony tail only and brush thoroughly. Top tip - pull hair in front of shoulders and use a mirror for ease of application. You can use your fingers (with gloves on) rather than a brush if you prefer. Take a small section of the hair (no more than 2 inches wide), brush the lightening mixture onto the ends of the hair. Use your fingers to work the product up the section of hair to where you desire the balayage effect to start. Massage the product into the hair ensuring it is well saturated. Repeat this technique for the whole bottom layer and gently cover with foil or gently clip hair to the side (do not use any hair accessories containing metal), ready for the next pony tail. Top tip - for a more natural look ensure each section does not have a solid line of product by blending with fingers or gently using the thin edge of the brush in sweeping vertical movements on sporadic sections, to create different height variations of blend. Repeat process for middle and top pony tail. Top tip - for top pony tail allow your hair to fall in its natural position with your usual parting. You do not need foil or a clip for the top section.
Step 3. Wait - cover with development cap and wait for the duration of your personal development time (up to a maximum of 45 minutes).
Step 4. Rinse - remove development cap and foils/clips, rinse hair thoroughly with warm water until all product is removed. Shampoo and Condition hair using sachets provided. Leave conditioner for five minutes and comb through. Rinse thoroughly and style as usual.
